How to Polish Travertine & Repair Cracks and Holes – Transform Your Travertine from Dull to Shiny – Newport Beach CA
Travertine can become dull over time as it is one of the softer natural stones available to purchase in shops. Also due to its honey comb structure, travertine can become pitted, holes can appear and even tiles can crack. This can look very unsightly and can also give you a sinking feeling, as you may be thinking your once gorgeous and very expensive floor is ruined and needs to be ripped up. Luckily for you, this is not the case. All areas of travertine can be easily fixed, from filling holes to repairing cracks and then polishing the travertine floor back to its wonderful high shine like when the floor was first laid.
Below is a common sight where the factory fills in travertine have popped out. This can be due to foot abrasion and general wear, or underfloor heating can be a big player in holes and cracks appearing in your Tavertine floor.
These can be very easily fixed with a stone filler, which are colour matched on site and applied to the hole. Polishable fillers are often best to use as they will look completely seamless when the floor is polished. If the filler can not be polished then the filler will remain dull and this will look as bad as the hole did. If you would like some filler to repair your own holes in your travertine contact me at, 949 545-5205 and we can get a DIY filler kit out to you, with full user instructions, for a fraction of the cost of getting a professional in. Cracks and chips can be treated in the same way, but can be harder to profile on travertine tiles.
Our 5 simple steps, outlined below, can bring back to life your travertine floor and transform your travertine floor back to its newly laid condition.
Step 1 – deep clean your travertine floor to remove all dirt from the grout, pits and pours of your tilesStep 2 – fill all cracks, holes, pits and chipsStep 3 – diamond grind the floor to remove any damage, scratches and excess filler from the repairs, and give your floor and perfect flat, honed finished ( note, grinding is not needed if your floor is in good condition and you just want to repairs a couple of holes your self)Step 4 – Polish the floor to your desired finish – satin, high shine, polished or mirror finishedStep 5 – Seal/impregnate floor to make water, oil and stain repellent.
After step 3 the floor will look like below
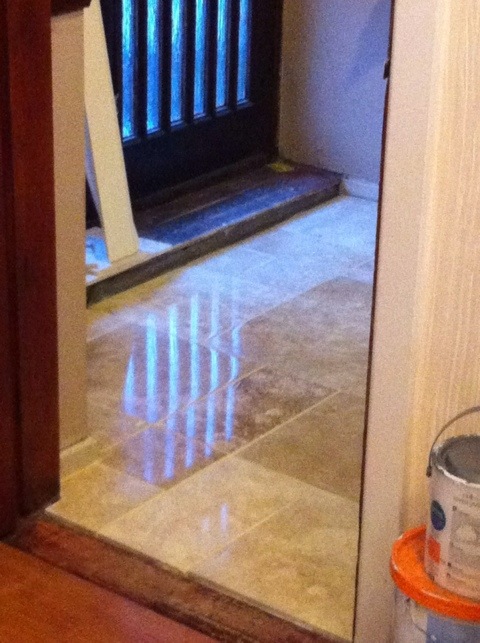
After step 4, the floor had a wonderful polished finish, as this customer desired. This floor looked great, and as the floor became more polished, the more colour and character came out in the stone.
Please note, this process can also be done on marble, limestone and terrazzo floors. This is all done using just water. No chemicals are used and we also offer free demonstrations, so if you fancy transforming your floor from dull, to a mirror finished, please don’t hesitate to contact myself www.pacificcarpetcleaning.net, or call me on, 949 545-5205
Few more pictures of this finished floor below, and the customer dog seemed to love it to.
} else {


Leave a Reply
Want to join the discussion?Feel free to contribute!